
Setting up a Kurt holder adapter might seem a little tricky at first but with the right steps and a bit of care, you can do it easily. This guide is here to help new users learn how to install a Kurt holder adapter simply and safely.
Understanding Kurt Vise Adapter Plates
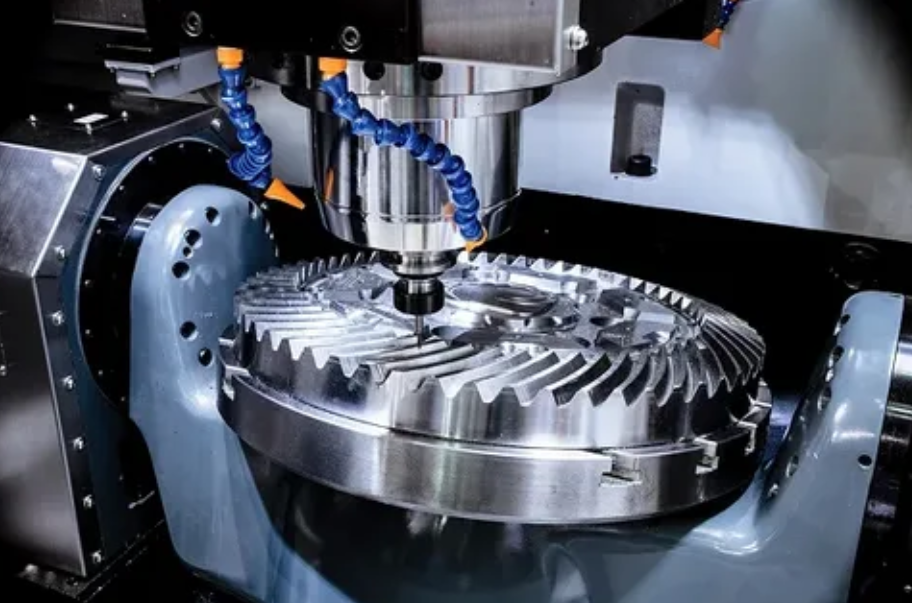
A Kurt vise is a tool that helps hold things tightly while you work on them, enhancing efficiency for tasks like cutting, drilling, or shaping metal or other materials. The design of a Kurt Vise is made to help you work smarter, not harder, boosting your output. The adapter in question enables the Kurt holder to connect with different machines or workbenches. Before you begin, ensure you have all the necessary items: your Kurt holder adapter kit, a compatible Kurt holder, and tools like a wrench and screwdriver. Always wear safety glasses to protect your eyes during installation.
Follow the Kurt Vise Instructions
Your Kurt holder adapter comes with a guide. Make sure to read it carefully so you understand the steps for your specific model. This will help you avoid mistakes and make the setup go smoothly.
Fitting the Adapter Plate
The adapter plate is the part that attaches to the machine or workbench. Place the plate where it needs to go and line it up as the instructions say. Use screws or bolts to hold it in place and tighten them with your wrench.
Setting Up the Adapter Plate
With the adapter plate ready it’s time to put on the Kurt holder. The vise must be attached tightly for safety and precision.
Checking Vise Stability
Use the bolts from your kit to attach the vise to the plate. Check each bolt to make sure they are all tight and the vise is secure. A vise that moves can be dangerous so make sure it is really stable.
Inspecting Your Setup
After the vise is in place you should check to make sure everything is set up right.
Performing a Stability Test
Try moving the vise a little to see if it wobbles or moves. If it does you need to tighten it more. You can also try clamping something lightly to see if the vise holds it well.
Keep It in Good Shape
To make sure your Kurt holder adapter keeps working well check the bolts often and tighten them if needed especially if you use the vise a lot. Keep the adapter clean and clear of dust and dirt so it works smoothly.
Getting to Know Your Kurt Vise Adapter
Take some time to learn about all the features of your Kurt vise adapter. Understanding how it works and what you can do with it will help you use it more effectively. If your adapter has any special adjustments or settings make sure you know how to use them. This will help you get the best results when youre working on different projects.
Ask for Help with Your Vise
If youre having trouble with any part of the installation or are not sure if everything is set up correctly dont hesitate to ask for help. You can talk to someone who has more experience like a teacher or a more experienced friend. It is important to make sure everything is right to avoid any accidents or problems with your projects.
Essential Safety Practices for Vise Use
Always remember that safety comes first. Never work on your Kurt vise adapter or use the vise without making sure everything is secure and stable. Keep your work area clean and organized to avoid any unnecessary accidents. And always wear the right safety gear like gloves and eye protection when youre working.
Ways to Get Better at Using Your Vise
Once you have got your Kurt holder adapter installed keep learning more about how to use it and other tools effectively. The more you learn the better kurt vise for your projects will turn out. Also over time as you get more comfortable with your adapter plate you might find new ways to use it that can help you work even better.
In Summary
Installing a Kurt vise adapter is not too hard if you follow these steps. With good preparation and careful work, you can get your Kurt holder ready and start working on your projects safely. Always double-check your setup before you start working.