

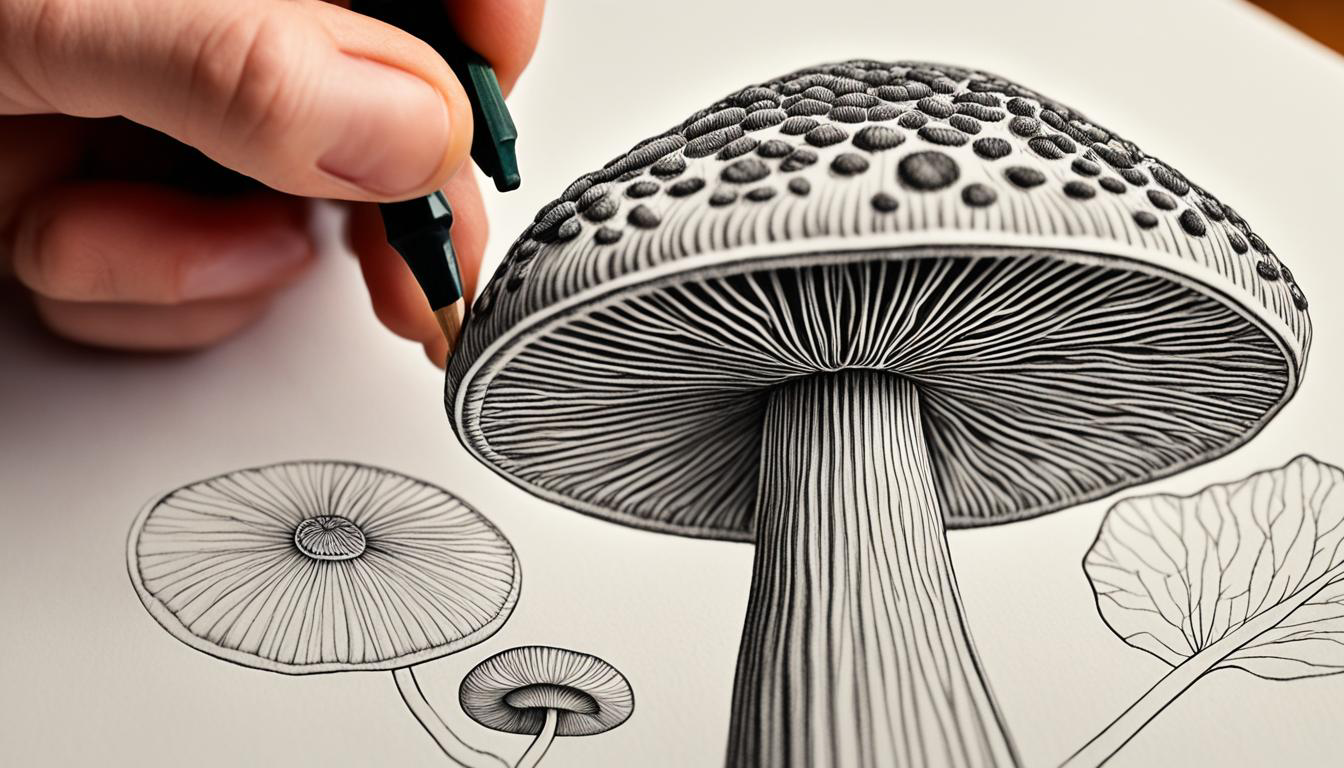
Explore the intricate world of mushroom sketching and improve your fungi art skills by observing the complex, organic patterns found across woodland ecosystems. This comprehensive guide offers expert tips and techniques to help you draw the exact structural beauty and delicate textures of wild mushrooms. It is designed to be accessible for both absolute beginners and experienced nature artists who want to expand their botanical portfolio. You will learn how to make realistic mushroom drawings that accurately capture nature’s subtle biological forms without relying on guesswork.
Start your creative journey in mushroom sketching and learn the core techniques needed to excel at natural history illustration. This guide covers everything from selecting the right graphite tools to mastering complex shading and porous gills. Get ready to be inspired by woodland flora and let your natural art grow steadily on the page.
Why Fungi Study Deepens Your Nature Connection
Drawing wild mushrooms sharpens your observational skills and deepens your appreciation for woodland ecosystems by forcing you to slow down and notice minute structural details. Sketching forest fungi is a peaceful, rewarding hobby that lets you explore unusual organic shapes while spending time outdoors or studying reliable reference photographs. It helps you connect deeply with the natural world and offers a calming, meditative creative outlet for artists of all backgrounds. Whether you are an experienced illustrator or picking up a graphite pencil for the first time, studying diverse mushroom species builds your confidence in rendering irregular biological curves.
Essential Graphite Tools for Fine Line Work
To start sketching accurate fungal specimens, you need specific pencils, heavyweight papers, and versatile erasers designed to handle both fine linear details and soft shading. A standard mixed-media sketchbook with smooth yet durable paper prevents smudging while allowing crisp pencil lines to stand out clearly. Graphite pencils ranging from hard 2H grades for light structural outlines to soft 6B grades for deep, dramatic shadows give you full tonal control over your subject. Kneaded erasers are particularly valuable for lifting out subtle highlights on curved caps, while vinyl erasers clear away heavy unwanted guidelines cleanly. For artists who want to take their work outdoors, a lightweight portable clipboard provides a firm surface when sketching directly in natural environments.
Deconstructing Cap, Stem, and Gill Anatomy
Before putting pencil to paper, you must break down the key physical structures of a specimen, including the cap, stem, gills, and any lingering veil remnants. Observing the cap helps you determine whether it is convex, flat, funnel-shaped, or bell-shaped before you begin your initial outline. The stem, or stipe, often features fibrous longitudinal textures, rings, or bulbous bases that require careful observation to avoid making your drawing look unnaturally rigid. Beneath the cap, the gills or pores demand special attention because their radial arrangement creates intricate patterns that define the identity of the fungus.
Mapping Out Your Specimen on Paper
Bringing forest fungi to life on paper follows a structured workflow that moves from loose gesture lines to crisp, shaded structural refinement. Begin by lightly mapping out the overall height and width using a hard 2H pencil to maintain a faint, easily adjustable guide on your page. Next, sketch the primary contours of the cap and stem, paying close attention to the angle at which the cap tilts relative to the substrate. Refine the internal details by lightly sketching the gill lines radiating outward from the center point of the stem. Finally, build up darker tones gradually, using softer pencils to establish deep shadows beneath the cap overhang and along the base of the stipe.
Rendering Slime, Scales, and Velvety Surfaces
Rendering slimy, scaly, or velvety mushroom surfaces requires deliberate mark-making techniques like hatching, cross-hatching, and stippling to create realistic tactile contrast. For a smooth, glossy cap, use subtle blended gradients with soft graphite, leaving stark white paper untouched to simulate bright reflected light. When depicting scaly caps or rough stems, use short, broken hatching marks that follow the natural contour of the volume. Stippling, or building up dense clusters of tiny dots, works wonderfully for rendering porous underside gills or granular stem textures without relying on harsh outlines.
Correcting Unnatural Symmetry and Flat Perspective
Avoiding common beginner pitfalls, such as drawing perfectly symmetrical stems and misjudging cap perspective, will instantly elevate the realism of your sketches. Natural mushrooms rarely grow in rigid, perfectly straight vertical columns; introducing slight curves and organic irregularities makes your drawing believable. Another frequent error is flattening the perspective of the underside gills, making them look like flat parallel stripes rather than curved planes radiating around a central stipe. Take time to step back, squint at your drawing, and check whether your shadows convey a true sense of three-dimensional volume.
Frequently Asked Questions About Mushroom Sketching
What are the best pencils for mushroom sketching?
Pencils with different hardness ratings, such as a 2H for light initial outlines, an HB for general work, and a 6B for dark shadows, provide the ideal tonal range for detailed nature art.
How do I make my mushroom drawings look three-dimensional?
You can create depth by observing where light hits the cap and applying gradual shading transitions that follow the curved organic contours of the fungus.
Should I forage real mushrooms to use as drawing references?
While foraging can be fun, photographs and field guides are often safer and more reliable references because real mushrooms decay rapidly and some species are toxic.
How do I draw realistic gills under the mushroom cap?
Gills should be sketched as radiating lines that curve outward from the top of the stem toward the edge of the cap, following the perspective angle of the underside.
What paper works best for graphite fungi art?
A fine-tooth mixed-media sketchbook or heavy drawing paper supports multiple layers of graphite shading and clean erasing without tearing or pilling.
Can I add color to my mushroom sketches?
Yes, you can easily enhance graphite illustrations by washing over them with light watercolor paints or adding colored pencils once your initial ink or pencil lines are set.
For more inspiration on hosting creative art get-togethers to share your nature sketches with friends, see our guide on practical advice for hosting outdoor events.
Disclaimer: The artistic tips and suggestions provided in this guide are intended for educational and creative enrichment. Botanical features and drawing techniques can vary, so artists should consult professional field guides and reliable reference materials for accurate biological details.


